How to Remote Access Raspberry Pi Over Internet: A Comprehensive Guide
By Michael Gray
Remote access to your Raspberry Pi from anywhere in the world is an essential skill for modern tech enthusiasts and developers alike. Whether you're managing servers, running IoT projects, or simply tinkering with your Raspberry Pi, being able to access it over the internet opens up endless possibilities. In this guide, we will walk you through the steps to securely connect to your Raspberry Pi remotely, ensuring both functionality and safety.
As more people work remotely and manage devices across different locations, the demand for remote access solutions has increased exponentially. However, setting up remote access to a Raspberry Pi requires careful planning and execution to avoid potential security risks. This article will cover everything you need to know, from the basics to advanced configurations, so you can confidently access your Raspberry Pi from anywhere.
Whether you're a beginner or an experienced user, this guide will provide step-by-step instructions, expert tips, and best practices to ensure your Raspberry Pi remains secure while still being accessible over the internet. Let's dive in!
Introduction to Remote Access on Raspberry Pi
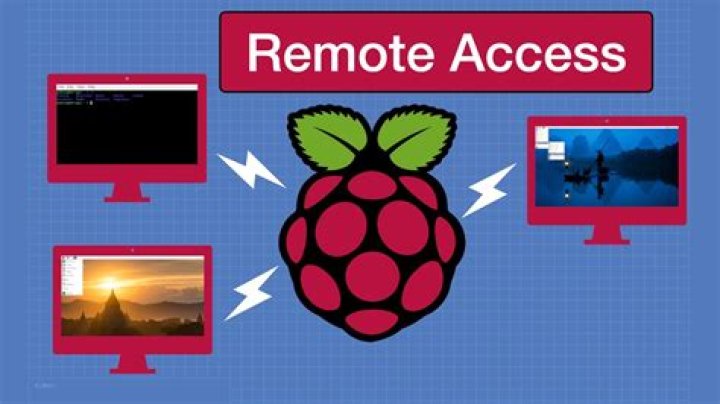
Remote access to your Raspberry Pi allows you to control and interact with the device from any location with an internet connection. This is particularly useful for managing headless setups, monitoring IoT devices, or accessing files stored on your Raspberry Pi.
In this section, we will cover the basics of remote access, including the tools and software you need to get started. Understanding these fundamentals will help you set up a secure and reliable connection to your Raspberry Pi.
What You Need to Get Started
Before you begin, ensure you have the following:
- A Raspberry Pi with Raspbian or any compatible operating system installed.
- An active internet connection for both your Raspberry Pi and the device you will use to access it remotely.
- A static IP address or Dynamic DNS service (optional but recommended for easier access).
- A basic understanding of networking concepts such as IP addresses and ports.
Why Remote Access is Important
Remote access is not just a convenience; it is a necessity for many modern applications. Whether you're managing a home server, running a media center, or developing IoT projects, remote access provides the flexibility to control your Raspberry Pi without physical proximity.
Benefits of Remote Access
- Increased Flexibility: Access your Raspberry Pi from anywhere in the world.
- Improved Productivity: Manage multiple projects without being tied to one location.
- Enhanced Security: Monitor and secure your device remotely, reducing the risk of unauthorized access.
- Cost-Effective: Eliminate the need for additional hardware or travel expenses.
Basic Setup for Raspberry Pi
Before you can access your Raspberry Pi remotely, you need to ensure it is properly set up. This includes configuring the operating system, enabling necessary services, and securing your device.
Step 1: Install and Configure Raspbian
Begin by installing the latest version of Raspbian or your preferred operating system on your Raspberry Pi. Once installed, update the system using the following commands:
sudo apt update and sudo apt upgrade.
Step 2: Enable SSH
SSH (Secure Shell) is the most common method for remote access. To enable SSH on your Raspberry Pi, follow these steps:
- Open the Raspberry Pi Configuration tool:
sudo raspi-config. - Navigate to "Interfacing Options" and select "SSH".
- Choose "Enable" and exit the configuration tool.
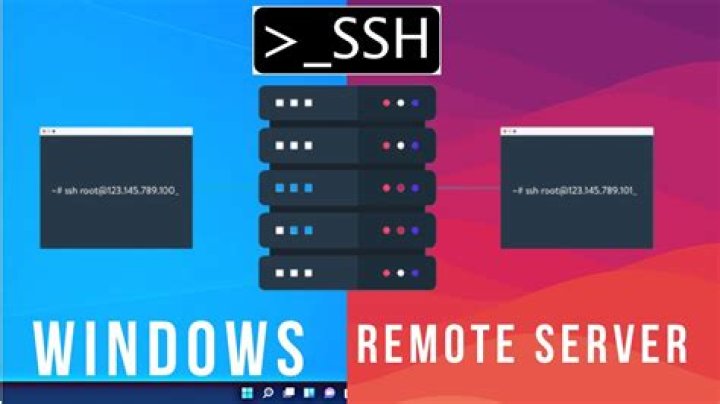
Using SSH for Remote Access
SSH is a secure protocol that allows you to connect to your Raspberry Pi from another device. It provides encrypted communication, ensuring your data remains safe during transmission.
Connecting to Your Raspberry Pi via SSH
To connect to your Raspberry Pi using SSH, follow these steps:
- Find the IP address of your Raspberry Pi by running
ifconfigorip addr. - On your remote device, open a terminal or SSH client and enter the following command:
ssh pi@. - Enter the password when prompted. The default password for Raspbian is "raspberry".
Setting Up Port Forwarding
Port forwarding allows external devices to access your Raspberry Pi's SSH service through your router. This is essential for remote access over the internet.
Steps to Set Up Port Forwarding
- Log in to your router's admin interface.
- Locate the "Port Forwarding" or "NAT" settings.
- Create a new rule for SSH, forwarding port 22 to your Raspberry Pi's local IP address.
- Save the changes and test the connection.
Dynamic DNS for Remote Access
If your internet service provider assigns a dynamic IP address, accessing your Raspberry Pi remotely can be challenging. Dynamic DNS services solve this problem by providing a static domain name that updates automatically with your changing IP address.
Popular Dynamic DNS Services
- No-IP
- Dynu
- DuckDNS
Choose a service that suits your needs and follow their instructions to set up the client on your Raspberry Pi.
Security Measures for Remote Access
Security should always be a top priority when setting up remote access. Here are some best practices to keep your Raspberry Pi secure:
Change Default SSH Port
Changing the default SSH port (22) can reduce the risk of automated attacks. Edit the SSH configuration file:
sudo nano /etc/ssh/sshd_config
Change the "Port" line to a different number, save the file, and restart the SSH service:
sudo service ssh restart
Use Key-Based Authentication
Disable password-based authentication and use SSH keys for added security. Generate a key pair on your local machine:
ssh-keygen -t rsa
Copy the public key to your Raspberry Pi:
ssh-copy-id pi@
Advanced Options for Remote Access
Once you've mastered the basics, consider exploring advanced options to enhance your remote access experience.
Using VNC for GUI Access
VNC (Virtual Network Computing) allows you to access the graphical interface of your Raspberry Pi remotely. Install and configure VNC Server:
sudo apt install realvnc-vnc-server realvnc-vnc-viewer
Enable VNC through the Raspberry Pi Configuration tool and connect using a VNC client.
Troubleshooting Common Issues
Even with careful setup, issues can arise. Here are some common problems and their solutions:
Connection Refused
If you receive a "Connection refused" error, check the following:
- Ensure SSH is enabled on your Raspberry Pi.
- Verify the IP address and port number.
- Check your router's port forwarding settings.
Timeout Errors
Timeout errors often occur due to network issues. Ensure your Raspberry Pi has a stable internet connection and try restarting your router.
Conclusion
Remote access to your Raspberry Pi over the internet is a powerful tool that can significantly enhance your productivity and flexibility. By following the steps outlined in this guide, you can set up a secure and reliable connection to your Raspberry Pi from anywhere in the world.
We encourage you to explore the advanced options and continuously improve your setup. If you have any questions or suggestions, feel free to leave a comment below. Don't forget to share this article with others who might find it useful!
Stay tuned for more tutorials and guides on maximizing the potential of your Raspberry Pi. Happy tinkering!