
How to Set Up a Reliable Firewall on Raspberry Pi 3 for Enhanced Network Security
By Matthew Harrington
Firewall on Raspberry Pi 3 has become an essential tool for securing your home network or small office setup. With cyber threats growing more sophisticated, having a robust firewall system is no longer optional but a necessity. This guide will walk you through the steps to set up and configure a firewall on your Raspberry Pi 3, ensuring your network remains protected.
Whether you're a tech enthusiast or someone who simply wants to secure their network, this guide will provide you with all the necessary information to get started. Raspberry Pi 3, known for its versatility, offers an affordable yet powerful solution for managing network security.
By the end of this article, you'll have a comprehensive understanding of how to install, configure, and maintain a firewall on Raspberry Pi 3. Let's dive in and explore the world of network security using Raspberry Pi 3!
Introduction to Firewall on Raspberry Pi 3
A firewall is a crucial component of any network security strategy. When it comes to Raspberry Pi 3, the compact yet powerful device can act as a gateway for your home or office network. A properly configured firewall on Raspberry Pi 3 can protect your devices from unauthorized access and potential cyber threats.
What is a Firewall?
A firewall acts as a barrier between your internal network and external threats. It monitors incoming and outgoing traffic based on predetermined security rules. By setting up a firewall on Raspberry Pi 3, you can control which data packets are allowed to pass through, ensuring only trusted traffic is permitted.
Benefits of Using Raspberry Pi 3 for Firewall
Raspberry Pi 3 offers several advantages for implementing a firewall:
- Cost-effective solution for network security
- Highly customizable and flexible
- Low power consumption
- Supports a wide range of open-source firewall software
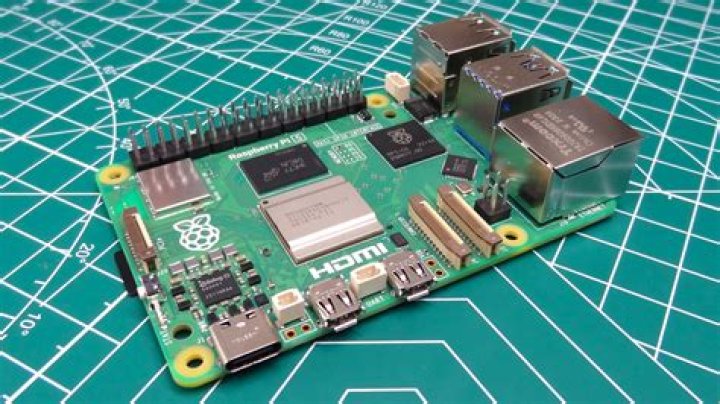
Understanding Raspberry Pi 3 Basics
Before diving into the specifics of setting up a firewall on Raspberry Pi 3, it's important to understand the device itself. Raspberry Pi 3 is a single-board computer that packs a lot of power into a small form factor. Here are some key specifications:
Key Specifications of Raspberry Pi 3
- Processor: 1.2GHz quad-core ARM Cortex-A53
- RAM: 1GB LPDDR2 SDRAM
- Connectivity: Built-in Wi-Fi and Bluetooth
- Ports: Ethernet, USB, HDMI, and GPIO
These specifications make Raspberry Pi 3 an ideal choice for running firewall software efficiently.
Why a Firewall is Essential on Raspberry Pi 3
In today's interconnected world, network security is paramount. A firewall on Raspberry Pi 3 serves as the first line of defense against potential cyberattacks. It helps protect your devices from:
- Malware and viruses
- Unauthorized access
- DDoS attacks
- Phishing attempts
By setting up a firewall, you can significantly reduce the risk of cyber threats and ensure your network remains secure.
Choosing the Right Firewall Software
When it comes to setting up a firewall on Raspberry Pi 3, you have several options to choose from. Some popular firewall software includes:
Popular Firewall Software for Raspberry Pi 3
- iptables
- ufw (Uncomplicated Firewall)
- pi-hole
- shorewall
Each of these options has its own strengths and weaknesses. For beginners, ufw is often recommended due to its simplicity and ease of use. Advanced users may prefer iptables for its flexibility and fine-grained control.
Step-by-Step Installation of Firewall on Raspberry Pi 3
Installing a firewall on Raspberry Pi 3 is a straightforward process. Below are the steps to install ufw, one of the most user-friendly firewall solutions:
Step 1: Update Your Raspberry Pi 3
Before installing any new software, ensure your Raspberry Pi 3 is up to date:
- Open the terminal
- Run the following commands:
sudo apt update
sudo apt upgrade
Step 2: Install UFW
To install ufw, use the following command:
sudo apt install ufw
Step 3: Enable UFW
Once installed, enable ufw with the following command:
sudo ufw enable
Configuring the Firewall for Maximum Security
After installation, configuring the firewall is crucial to ensure optimal security. Below are some configuration tips:
Setting Up Basic Rules
- Allow SSH access: sudo ufw allow ssh
- Deny all incoming connections: sudo ufw default deny incoming
- Allow outgoing connections: sudo ufw default allow outgoing
Advanced Configuration
For more advanced configurations, consider using iptables. This allows for more granular control over your firewall rules. Refer to the official iptables documentation for detailed instructions.
Testing the Firewall Setup
Once your firewall is configured, it's important to test its effectiveness. You can use tools like nmap to scan your network and identify any vulnerabilities:
Using Nmap to Test Your Firewall
- Install nmap: sudo apt install nmap
- Run a scan: nmap -sS -O localhost
Review the results to ensure your firewall is functioning as expected.
Advanced Settings and Customization
For users looking to take their firewall setup to the next level, consider implementing advanced settings:
Custom Rules
Create custom rules to block specific IP addresses or ports:
- Block an IP: sudo ufw deny from [IP address]
- Block a port: sudo ufw deny [port number]
Logging
Enable logging to monitor firewall activity:
sudo ufw logging on
Troubleshooting Common Issues
Even with careful setup, issues can arise. Below are some common problems and their solutions:
Issue: Unable to Access SSH
Solution: Ensure SSH is allowed in your firewall rules. Run the following command:
sudo ufw allow ssh
Issue: Denied Outgoing Connections
Solution: Check your outgoing connection rule. Ensure it's set to allow:
sudo ufw default allow outgoing
Conclusion and Next Steps
Setting up a firewall on Raspberry Pi 3 is a powerful way to enhance your network security. By following the steps outlined in this guide, you can create a robust firewall system that protects your devices from potential threats. Remember to regularly update your firewall rules and test your setup to ensure maximum protection.
We encourage you to share your thoughts and experiences in the comments section below. Additionally, explore other articles on our site to learn more about Raspberry Pi and network security. Together, let's build a safer digital world!
References:


