Mastering Remote Access to Your Raspberry Pi: A Comprehensive Guide
By Mia Phillips
Remote access to your Raspberry Pi has become an essential skill for tech enthusiasts, hobbyists, and professionals alike. Whether you're managing a home automation system or running a server, being able to control your Raspberry Pi from anywhere is invaluable. This article will walk you through the process of setting up remote access securely and effectively.
With the growing popularity of IoT devices and remote work, having the ability to remotely connect to your Raspberry Pi can significantly enhance productivity. Whether you're troubleshooting a project or accessing files stored on your Pi, remote access provides convenience and flexibility that traditional methods cannot match.
In this guide, we'll explore various methods to achieve remote access, discuss security best practices, and provide step-by-step instructions to ensure a seamless experience. By the end of this article, you'll be equipped with the knowledge and tools necessary to remotely manage your Raspberry Pi with confidence.
Introduction to Remote Access on Raspberry Pi
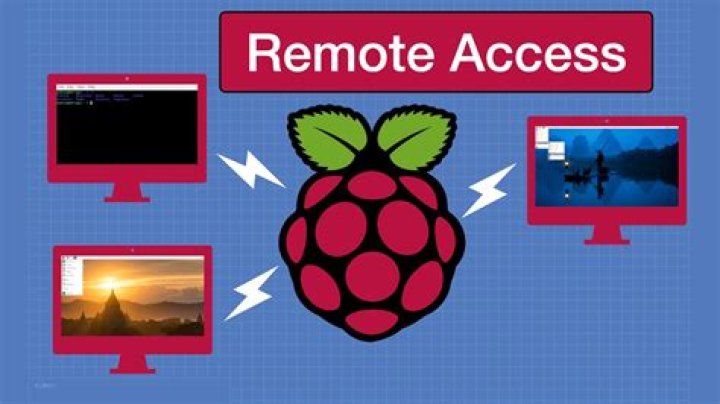
Remote access to your Raspberry Pi allows you to control and interact with the device from another computer or mobile device, regardless of your physical location. This capability is particularly useful for managing servers, monitoring IoT devices, or simply accessing files stored on your Pi.
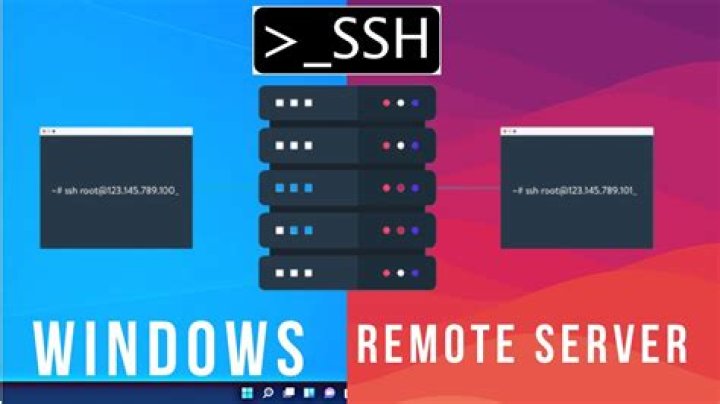
There are several methods to achieve remote access, each with its own advantages and limitations. The most common methods include SSH (Secure Shell), VNC (Virtual Network Computing), and third-party tools like TeamViewer or NoMachine. Understanding the differences between these methods will help you choose the best option for your needs.
Methods for Remote Access to Raspberry Pi
When it comes to remote access, there are several methods to consider:
- SSH: A command-line interface that allows secure communication between devices.
- VNC: A graphical interface that mirrors the desktop of your Raspberry Pi.
- Third-party tools: Software like TeamViewer or NoMachine that offer additional features and ease of use.
Each method has its own set of requirements and configurations. We'll delve into each method in detail below.
SSH as a Primary Method
SSH is one of the most popular methods for remote access due to its simplicity and security. It allows you to execute commands on your Raspberry Pi from a remote location, making it ideal for server management and scripting tasks.
Setting Up SSH for Remote Access
SSH is enabled by default on many Raspberry Pi distributions, but if it's not, you can easily enable it through the Raspberry Pi Configuration tool or by editing the configuration files.
To enable SSH:
- Open the Raspberry Pi Configuration tool from the main menu.
- Select the "Interfaces" tab.
- Set SSH to "Enabled".
- Reboot your Raspberry Pi.
Once SSH is enabled, you can connect to your Raspberry Pi using an SSH client like PuTTY (for Windows) or the built-in terminal on macOS and Linux.
SSH Command Syntax
The basic syntax for connecting via SSH is:
ssh username@ip_address
Replace "username" with your Raspberry Pi's username (usually "pi") and "ip_address" with the IP address of your Raspberry Pi.
Using VNC for Remote Access
VNC provides a graphical interface for remote access, allowing you to interact with your Raspberry Pi as if you were sitting in front of it. This method is particularly useful for tasks that require a graphical user interface.
To set up VNC:
- Install the RealVNC server on your Raspberry Pi.
- Enable VNC through the Raspberry Pi Configuration tool.
- Download and install the RealVNC Viewer on your remote device.
- Connect to your Raspberry Pi using its IP address.
VNC offers a more user-friendly experience compared to SSH, but it requires more bandwidth and resources.
VNC Security Considerations
While VNC is convenient, it's important to secure your connection to prevent unauthorized access. Use strong passwords and consider enabling encryption to protect your data during transmission.
Security Considerations for Remote Access
Security should always be a top priority when setting up remote access. Here are some best practices to keep your Raspberry Pi safe:
- Use strong, unique passwords for all accounts.
- Enable two-factor authentication (2FA) whenever possible.
- Regularly update your Raspberry Pi's operating system and software.
- Restrict access to specific IP addresses or networks.
- Use a firewall to block unauthorized access.
By following these guidelines, you can minimize the risk of security breaches and ensure the safety of your data.
Firewall Configuration
A firewall can help protect your Raspberry Pi by blocking unauthorized access attempts. Use tools like UFW (Uncomplicated Firewall) to configure your firewall settings easily.
Tools and Software for Remote Access
Several tools and software are available to facilitate remote access to your Raspberry Pi. Some of the most popular options include:
- SSH clients like PuTTY and OpenSSH.
- VNC clients like RealVNC Viewer and TightVNC.
- Third-party tools like TeamViewer and NoMachine.
Each tool has its own strengths and weaknesses, so it's important to choose the one that best fits your needs.
Comparison of Remote Access Tools
When evaluating remote access tools, consider factors such as ease of use, performance, and security features. For example, TeamViewer offers a user-friendly interface and cross-platform compatibility, while SSH provides a lightweight and secure solution for command-line tasks.
Troubleshooting Common Issues
Even with careful setup, issues can arise when attempting to remotely access your Raspberry Pi. Here are some common problems and their solutions:
- Connection Refused: Ensure SSH or VNC is enabled and check your IP address.
- Incorrect Password: Verify your username and password, and ensure they match the credentials on your Raspberry Pi.
- Network Issues: Check your internet connection and ensure your Raspberry Pi is connected to the same network.
If you encounter persistent issues, consult the official documentation or seek help from online forums and communities.
Debugging SSH Connections
To debug SSH connections, use the verbose mode by adding the "-v" flag to your SSH command. This will provide detailed output that can help identify the source of the problem.
Best Practices for Remote Access
Adopting best practices can improve the reliability and security of your remote access setup. Here are some tips to keep in mind:
- Regularly back up your Raspberry Pi's data.
- Monitor system logs for suspicious activity.
- Limit access to trusted devices and networks.
- Document your setup process for future reference.
By following these practices, you can ensure a smooth and secure remote access experience.
Automating Backups
Automating backups can save time and prevent data loss. Use tools like rsync or cron jobs to schedule regular backups of your Raspberry Pi's files and configurations.
Advanced Techniques for Remote Access
For users seeking more advanced functionality, there are several techniques to explore:
- Set up a dynamic DNS service to access your Raspberry Pi from anywhere.
- Use port forwarding to allow remote access through a router.
- Implement SSH tunneling for secure communication over untrusted networks.
These techniques require additional configuration but can significantly enhance the capabilities of your remote access setup.
Dynamic DNS Setup
A dynamic DNS service allows you to access your Raspberry Pi using a domain name instead of an IP address. Popular services include No-IP and DuckDNS, which offer free and paid options depending on your needs.
Conclusion and Next Steps
In conclusion, remote access to your Raspberry Pi is a powerful tool that can enhance your productivity and expand the possibilities of your projects. By understanding the various methods available and following security best practices, you can ensure a safe and effective remote access experience.
We encourage you to experiment with the techniques discussed in this article and share your experiences in the comments below. For further reading, check out our other articles on Raspberry Pi projects and tutorials.
Thank you for reading, and happy tinkering!