
Unlocking the Power of RemoteIoT Behind Router with Raspberry Pi for Free
By Sophia Edwards
In today's interconnected world, remote IoT (Internet of Things) has become a game-changer for both hobbyists and professionals alike. The ability to control devices remotely, especially with the help of a Raspberry Pi, opens up endless possibilities for automation, monitoring, and innovation. Whether you're managing smart home devices or building complex industrial solutions, understanding how to set up remote IoT behind a router using a Raspberry Pi for free is essential.
Remote IoT applications powered by Raspberry Pi have gained immense popularity due to their cost-effectiveness and flexibility. This versatile single-board computer allows users to create robust remote connections without needing expensive proprietary hardware. By leveraging existing network infrastructure, such as routers, you can establish secure and reliable communication channels for your IoT projects.
However, setting up remote IoT behind a router requires careful planning and execution. This article will guide you step-by-step through the process, ensuring you can implement this technology securely and efficiently. Whether you're a beginner or an experienced developer, this comprehensive guide will provide all the information you need to get started.
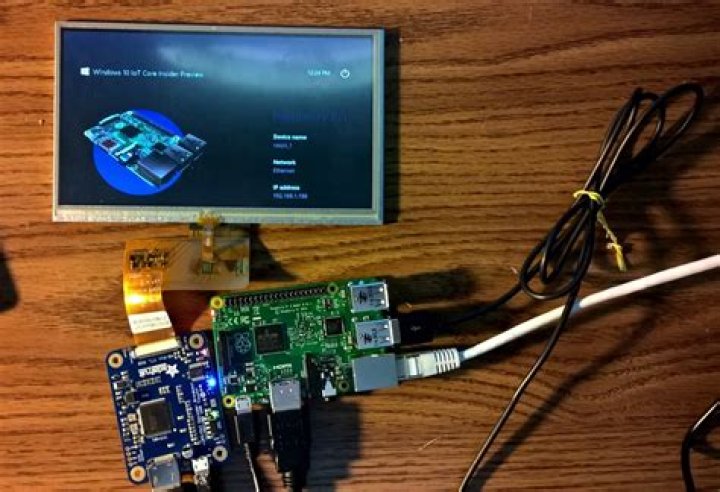
Introduction to RemoteIoT Behind Router with Raspberry Pi
Remote IoT has revolutionized the way we interact with devices over the internet. By placing a Raspberry Pi behind a router, you can securely manage and monitor IoT devices from anywhere in the world. This setup is particularly useful for smart home automation, remote monitoring of environmental conditions, and even industrial applications.
Why Choose Raspberry Pi?
Raspberry Pi offers several advantages for remote IoT projects:
- Cost-effective hardware
- Extensive community support
- Compatibility with various software platforms
- Low power consumption
Key Benefits of Using a Router
Using a router as part of your remote IoT setup provides additional security and flexibility. Routers act as gatekeepers, controlling access to your network and ensuring only authorized devices can connect. This setup is crucial for maintaining the integrity of your IoT ecosystem.
Understanding Raspberry Pi Basics
Before diving into remote IoT configurations, it's important to understand the basics of Raspberry Pi. This section will cover essential components, operating systems, and setup procedures.
Key Components of Raspberry Pi
- Single-board computer
- GPIO pins for interfacing with external devices
- Support for multiple operating systems, including Raspbian and Ubuntu
Setting Up Raspberry Pi
Setting up Raspberry Pi involves several steps, including:
- Installing the operating system on an SD card
- Configuring Wi-Fi or Ethernet connections
- Updating the system with the latest software packages
Essential IoT Concepts for Remote Connections
To effectively implement remote IoT behind a router with Raspberry Pi, it's crucial to understand fundamental IoT concepts. This includes understanding communication protocols, data security, and device management.
Communication Protocols
Common IoT communication protocols include:
- MQTT (Message Queuing Telemetry Transport)
- HTTP/HTTPS
- WebSocket
Data Security
Securing data transmission is paramount in remote IoT setups. Implementing encryption, authentication, and secure communication channels ensures your devices remain protected from unauthorized access.
Setting Up Your Router for Remote IoT
Your router plays a critical role in enabling remote IoT functionality. Proper configuration ensures seamless communication between your Raspberry Pi and external devices.
Router Features to Enable
- Port forwarding
- Dynamic DNS (DDNS)
- Firewall settings
Best Practices for Router Configuration
When configuring your router, consider the following best practices:
- Use strong passwords for router access
- Regularly update router firmware
- Monitor network activity for suspicious behavior
Security Considerations for Remote IoT
Security should always be a top priority when setting up remote IoT systems. This section outlines key security measures to protect your devices and data.
Implementing Encryption
Using encryption protocols such as SSL/TLS ensures data transmitted between your Raspberry Pi and external devices remains secure.
Regular Updates
Keeping your Raspberry Pi and router software up to date helps mitigate vulnerabilities and ensures your system remains secure against emerging threats.
Implementing Port Forwarding on Your Router
Port forwarding is a crucial step in enabling remote access to your Raspberry Pi. This process involves configuring your router to direct incoming traffic to the correct internal IP address and port.
Steps to Configure Port Forwarding
- Log in to your router's admin interface
- Locate the port forwarding settings
- Specify the internal IP address of your Raspberry Pi
- Set the appropriate port numbers
Tips for Successful Port Forwarding
- Use static IP addresses for your Raspberry Pi
- Test port forwarding settings to ensure they work correctly
Exploring Free Solutions for Remote IoT
Several free solutions are available to facilitate remote IoT setups with Raspberry Pi. These tools provide robust functionality without requiring significant financial investment.
Popular Free Tools
- ngrok
- LocalTunnel
- ZeroTier
Advantages of Free Solutions
Using free solutions offers several advantages:
- Cost savings
- Community support
- Flexibility to experiment with different tools
Configuring Software on Raspberry Pi
Proper software configuration is essential for successful remote IoT implementations. This section covers key software components and configuration steps.
Installing Necessary Software
- Python libraries for IoT communication
- Web server software (e.g., Apache, Nginx)
- Security tools (e.g., Fail2Ban, UFW)
Optimizing Performance
To optimize Raspberry Pi performance, consider:
- Disabling unnecessary services
- Using lightweight software alternatives
- Regularly monitoring system resources
Testing Your Remote IoT Connection
Once your setup is complete, it's important to test your remote IoT connection to ensure everything is functioning correctly. This section provides guidance on testing procedures and tools.
Tools for Testing
- Ping and traceroute
- Online port checkers
- SSH clients
Troubleshooting Tips
If you encounter issues during testing, consider the following troubleshooting tips:
- Verify router settings
- Check firewall rules
- Consult documentation for specific tools
Troubleshooting Common Issues
Even with careful planning, issues can arise during remote IoT setups. This section addresses common problems and provides solutions.
Connection Problems
Connection issues can often be resolved by:
- Rechecking port forwarding configurations
- Ensuring correct IP addresses are used
- Testing with different devices
Security Alerts
If you receive security alerts, investigate:
- Unauthorized access attempts
- Potential vulnerabilities in your setup
- Updates required for software or firmware
Conclusion and Next Steps
Remote IoT behind a router with Raspberry Pi offers powerful capabilities for managing and monitoring devices from anywhere in the world. By following the steps outlined in this article, you can create a secure and efficient remote IoT setup for your projects.
We encourage you to:
- Share your experiences and insights in the comments section
- Explore additional resources for further learning
- Stay updated with the latest developments in IoT technology
Thank you for reading, and we hope this guide has been helpful in your journey to mastering remote IoT with Raspberry Pi!


